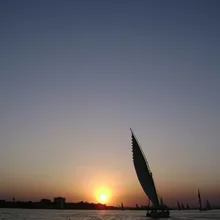
Hey Daroma
Also known as Hey Daroma wreck
Second wreck lying alongside the Million Hope on the same stretch of Nabq reef, usually dived on the same trip.
No detailed dive map yet
A close-up reef map of Hey Daroma will appear here when available.
Second wreck lying alongside the Million Hope on the same stretch of Nabq reef, usually dived on the same trip. Day boat. Within or adjacent to the Nabq Protected Area.
Highlights
- Second wreck lying alongside the Million Hope on the same stretch of Nabq reef, usually dived on the same trip.
Good to know
- Protected status
- Within or adjacent to the Nabq Protected Area.
Dive centres in Sharm el-Sheikh
Centres that run Hey Daroma and the reefs around it.
More sites in Sharm el-Sheikh, Ras Mohammed & Tiran
Amphoras
Sloping reef strewn with the amphora cargo of a wrecked Ottoman-era vessel
Anemone City
Dense carpet of sea anemones and territorial anemonefish on the shallow shelf at the southern end of the Shark Observatory wall
Beacon Rock
The beacon-marked southern corner of Sha'ab Mahmud
Eel Garden (Ras Mohammed)
Gently sloping sandy plateau with a V-shaped stream of sand issuing from a small cave